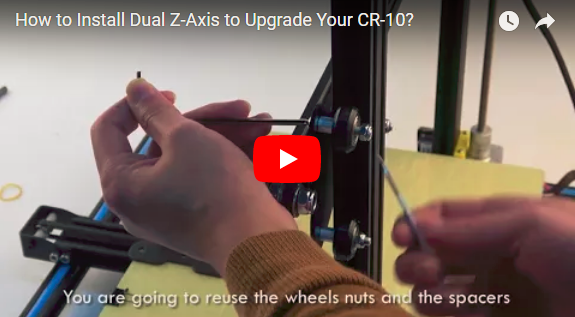
Above is the complete video of installing the dual Z-axis to your CR-10. What we are showing in the video is the newest SainSmart Dual Z-Axis Upgrade Kit for CR-10 Standard. This kit includes original Z-axis lead screw and stepper motor replacement specially for CR-10 Standard. If you are thinking of adding more stability to your CR-10, this kit will be perfect option for you.
Below is also the installation guide but with some details that you might need to pay attention to. Let's upgrade your beloved CR-10!
Beginning
NOTICE: Make sure your machine is power off and all cables are unplugged before starting this upgrading process.
Tools you may need: Clipper, allen key and spanner.
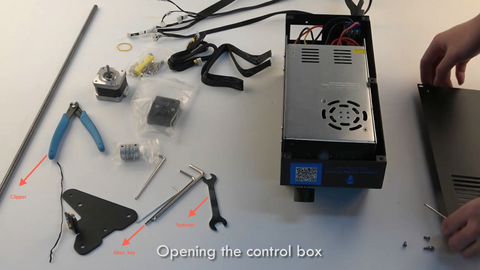
When everything is all set, you can start to open the control box.
Changing the Z cable
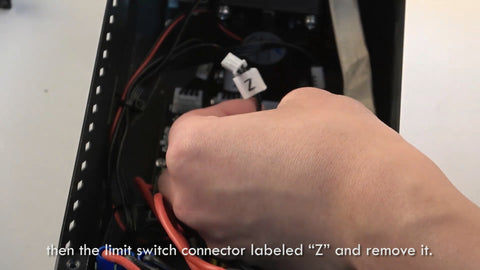
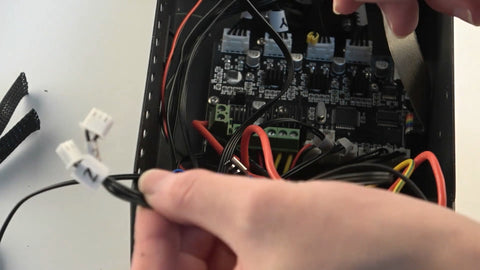
Now the box is open, next you need to find the stepper connector labeled “Z” and the limit switch connector also labeled “Z”, then remove them from the motherboard.
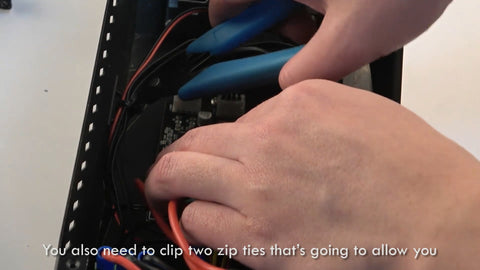
Next, you need a clip to “unchain“ the two zip ties so that your z-axis cable can feel free to go. You can now pull them out through the rear of the control box.
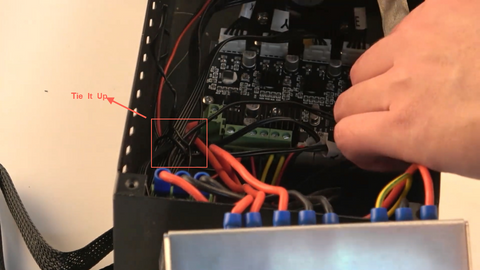
Feed the new cable from the kit through the rear of the control box and plug it into the stepper connector and limit switch connector, from which the old Z-Axis cable unplugged. Use tie wire or zip tie to stabilize the cables to avoid them from being pulled out from the control box.
Then the Z cable changing is complete and you can close your control box again!
Bracket installing
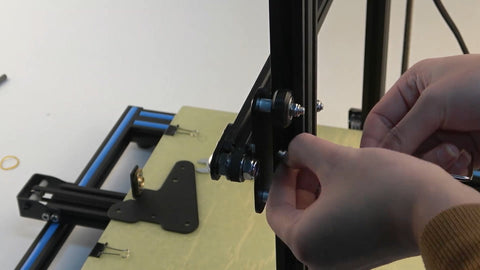
Now it’s the bracket part. First, remove the wheels from the outside of the extrusion. You are going to reuse the wheels, nuts and the spacers.
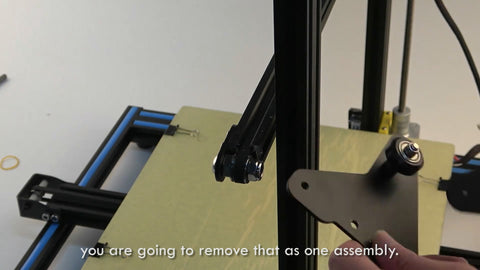
The front side bracket is held on with screws and T-nuts, you are going to remove that as one assembly.
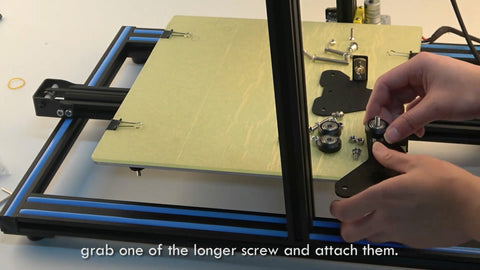
You’ll need to assemble the single wheel side of the bracket, grab one of the longer screws and attach them, remember to attach the t- nuts before installation. Grab the other two long screws that came in the kit,start with the original spacers and the wheels then the additional spacers that came in the kit.

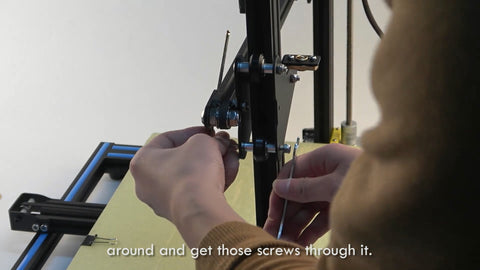
Pull the screws back just enough so you can swivel the bracket around and get those screws through it. Use your allen key to go through the hole and tighten down the screws with your spanner.
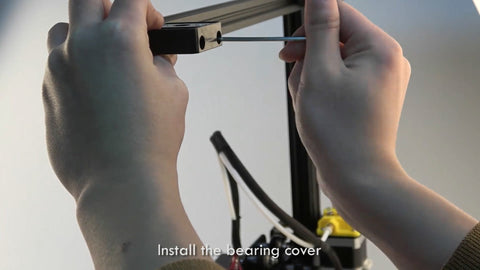
Bearing Cover Installing
Install the bearing cover, again use your allen key to make it go through the hole and tighten down the screws.
Stepper Installing
Attach the yellow bracket to the stepper on the opposite side of the connection. Pay attention to the T-nuts make sure they grab.
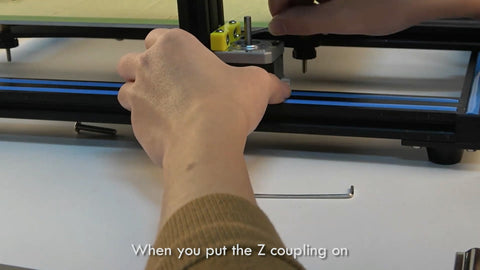
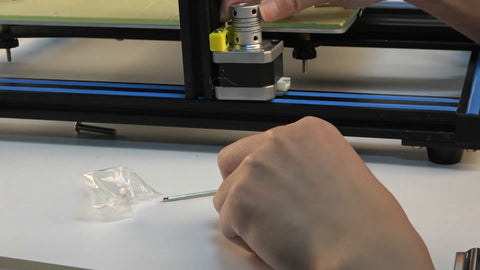
When you put the Z coupling on make sure you line the set screws up with the flat spot on the shaft.
Lead screw installing
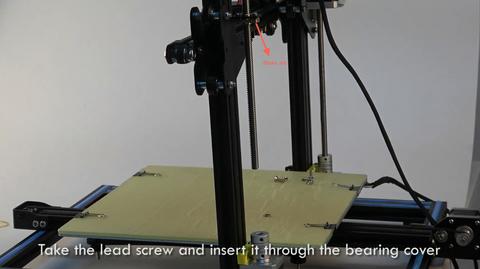
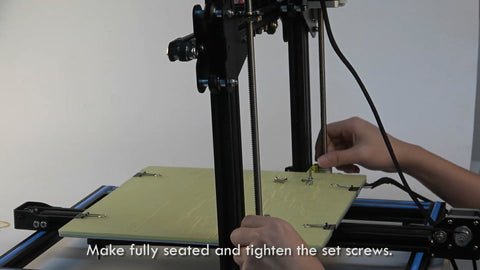
Take the lead screw and insert it through the bearing cover and feed it down to the brass nut in the new bracket. It should thread down into the coupling. Make it fully seated and tighten the set screws.
Adjusting
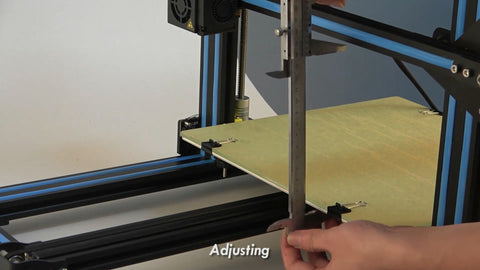
Now, you have added a second lead screw to the other side. You need to take a measurement and make sure both sides are level off of a fixed point.
Then your CR-10 dual Z-axis upgrade is complete! Easy?


![[Teil 2] Wie der SainSmart 3020-ULTRA zum MVP unserer Robotertechnik wurde](http://de.sainsmart.com/cdn/shop/articles/How_the_SainSmart_3020-ULTRA_Became_the_MVP_of_Our_Robotics_Workshop_1.webp?v=1754296870 "[Teil 2] Wie der SainSmart 3020-ULTRA zum MVP unserer Robotertechnik wurde")
