Guest Blog: CNX-Software
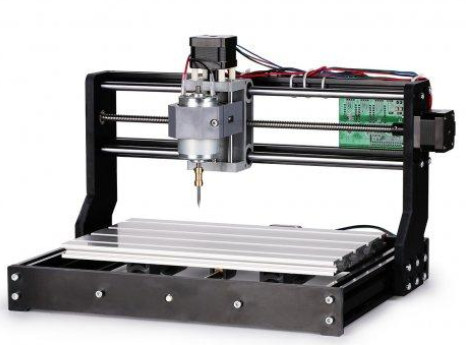
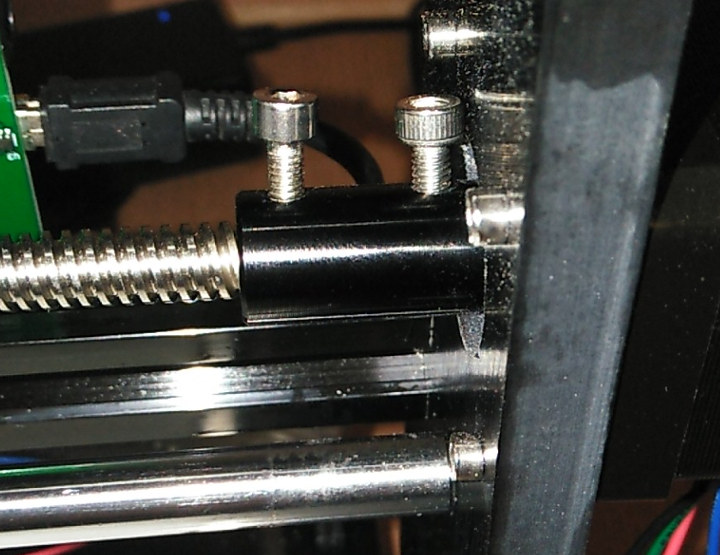
Hey Karl here. Today we are going to look at something a little different. I am writing about my experiences with building Genmitsu 3018 CNC router upgraded version provided by Sainsmart for this review. While waiting on the unit to arrive I did some research and found that there are several different versions on the market labeled CNC xxxx. The xxxx represent the build volume in the x and y. So the one I was sent has a 300x180mm build volume. The 3018 is called upgraded because the new mounting for the X and Y rods and lead screws.
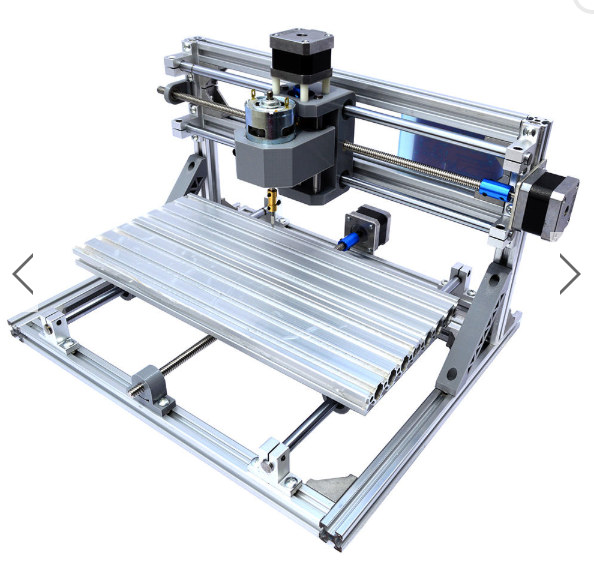
On the previous version these had to be mounted and manually aligned which from what I read can be a pain.
Building Genmitsu CNC 3018-PRO CNC Router
The build went very well. The 3018 user manual was mostly pictures but they called out anything that might be questionable. I had been talking about the CNC/engraver with my kids and they were excited to help build one evening after school. It took us about 1.5 hours to build and I was only able to keep their attention for about half the time. We put it together on our carport on a rug… my back wishes it was at the workbench. I normally put together in my shop but wanted them involved. I am a little above average height and my workbench is at my standing height in my shop so opted for the floor. I had three issues were I had to redo but all were my fault and easy to fix. I just didn’t pay attention to detail. I bet I could easily put it together by myself in about an hour under better circumstances. I did record the build but found it not very interesting and useful to share.
One thing to note. I did find a ball bearing in the box but can’t confirm it was from this kit. Everything seems tight and no slop in movement.
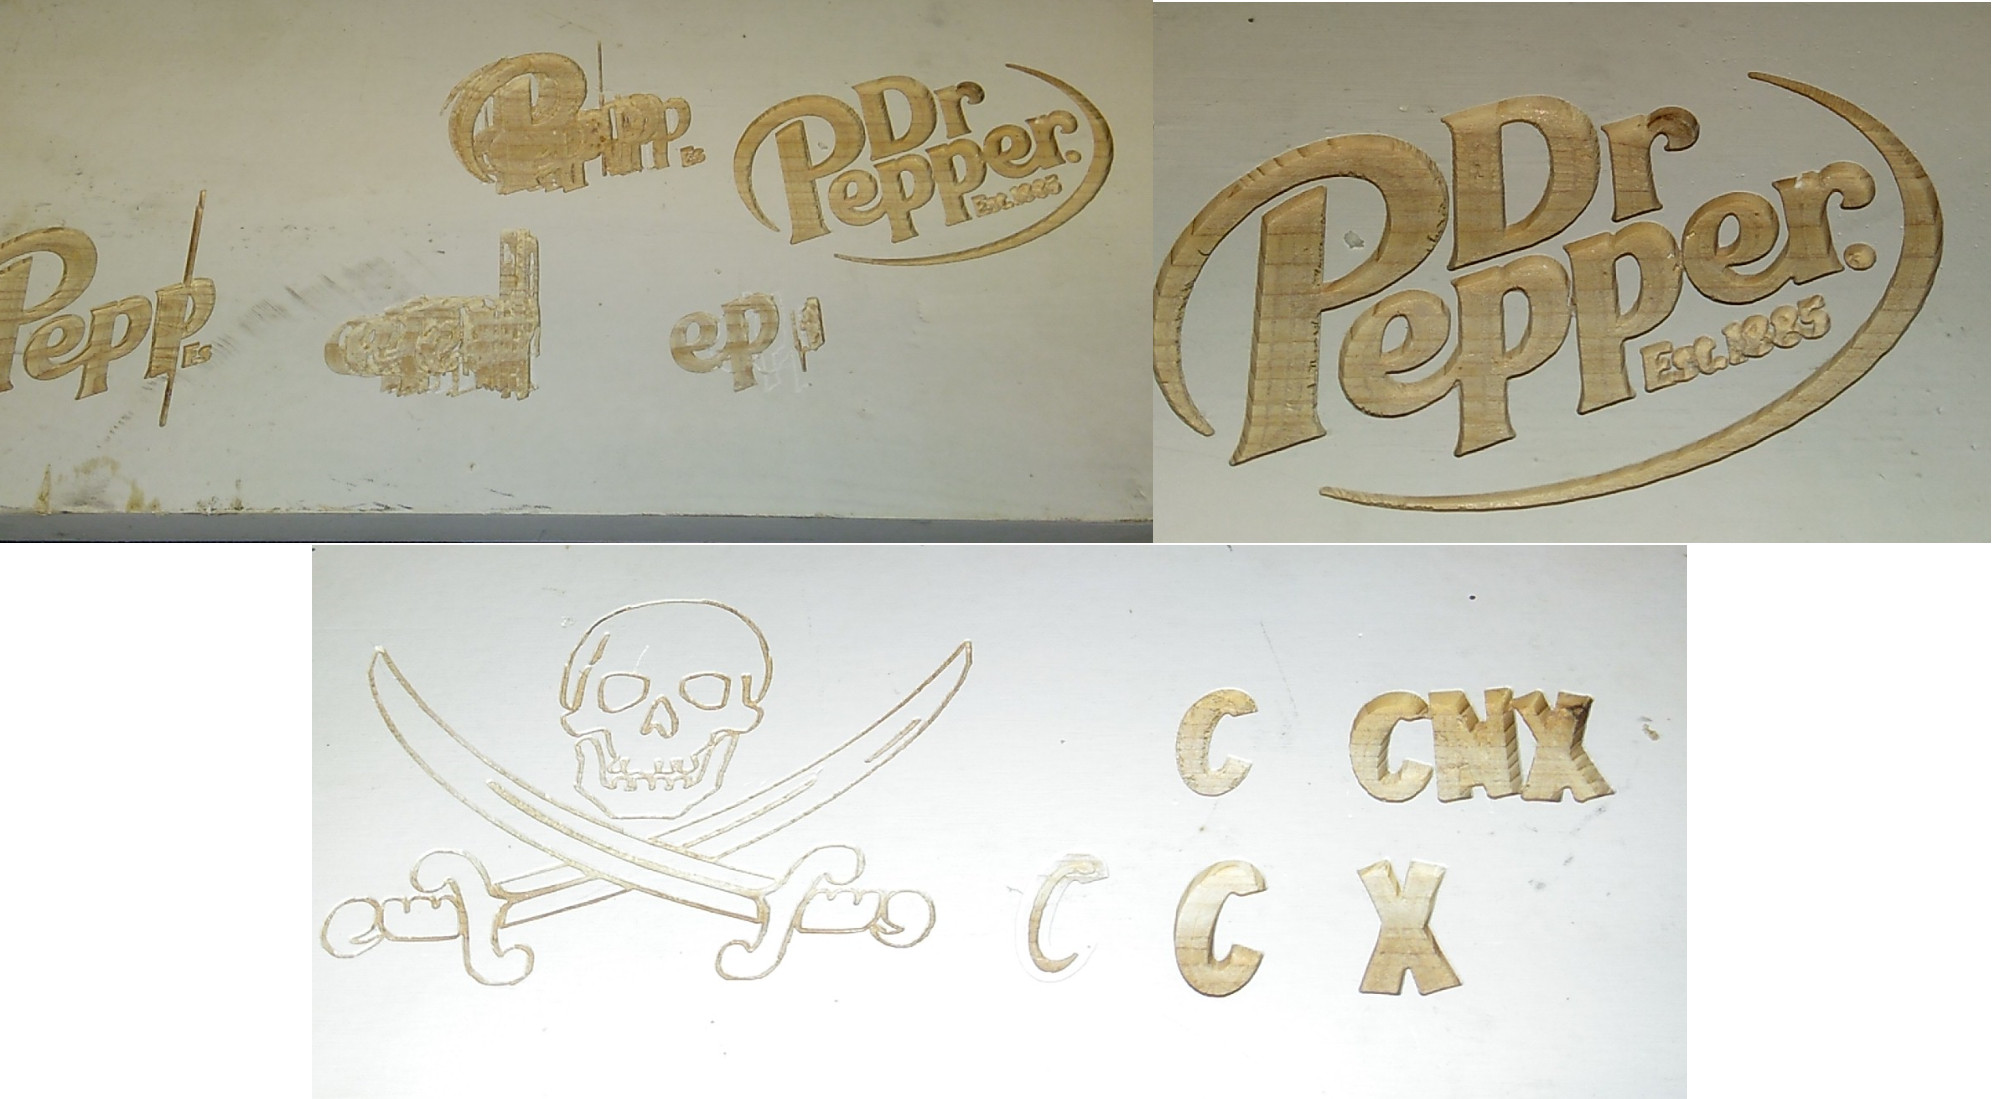
First Etches with CNC 3018-PRO

The kit came with a mini CD but I skipped using it and downloaded the documents and software from Sainsmart wiki. It has a digital copy of the instructions as well as some windows software and drivers and some gcode for testing. I connected the printer to my PC… I didn’t have to use the provided drivers…then loaded the example gcode. Before starting I positioned the bit at the bottom left hand corner with the tip barely touching. I set X, Y, and Z to 0 home position in the software. Then hit run. I etched the Sainsmart logo on a piece of acrylic with very little effort. My first pass wasn’t perfect, the s and a only partially showed. I am not sure if it is uneven bed or the acrylic was uneven. I started again and it was fine. While using the CNC router, I realized if that happens again I can just go down to 0 height then go 0.1mm lower and zero only the Z and start again if I have only partially etched something. I etched the rest of the examples with very little effort. I am doing just simple etches right now to get a feel for speeds and feeds. I think I have been very conservative. 600mm/min feed and 120mm/min plunge at .5mm depth per pass.
Windows and USB
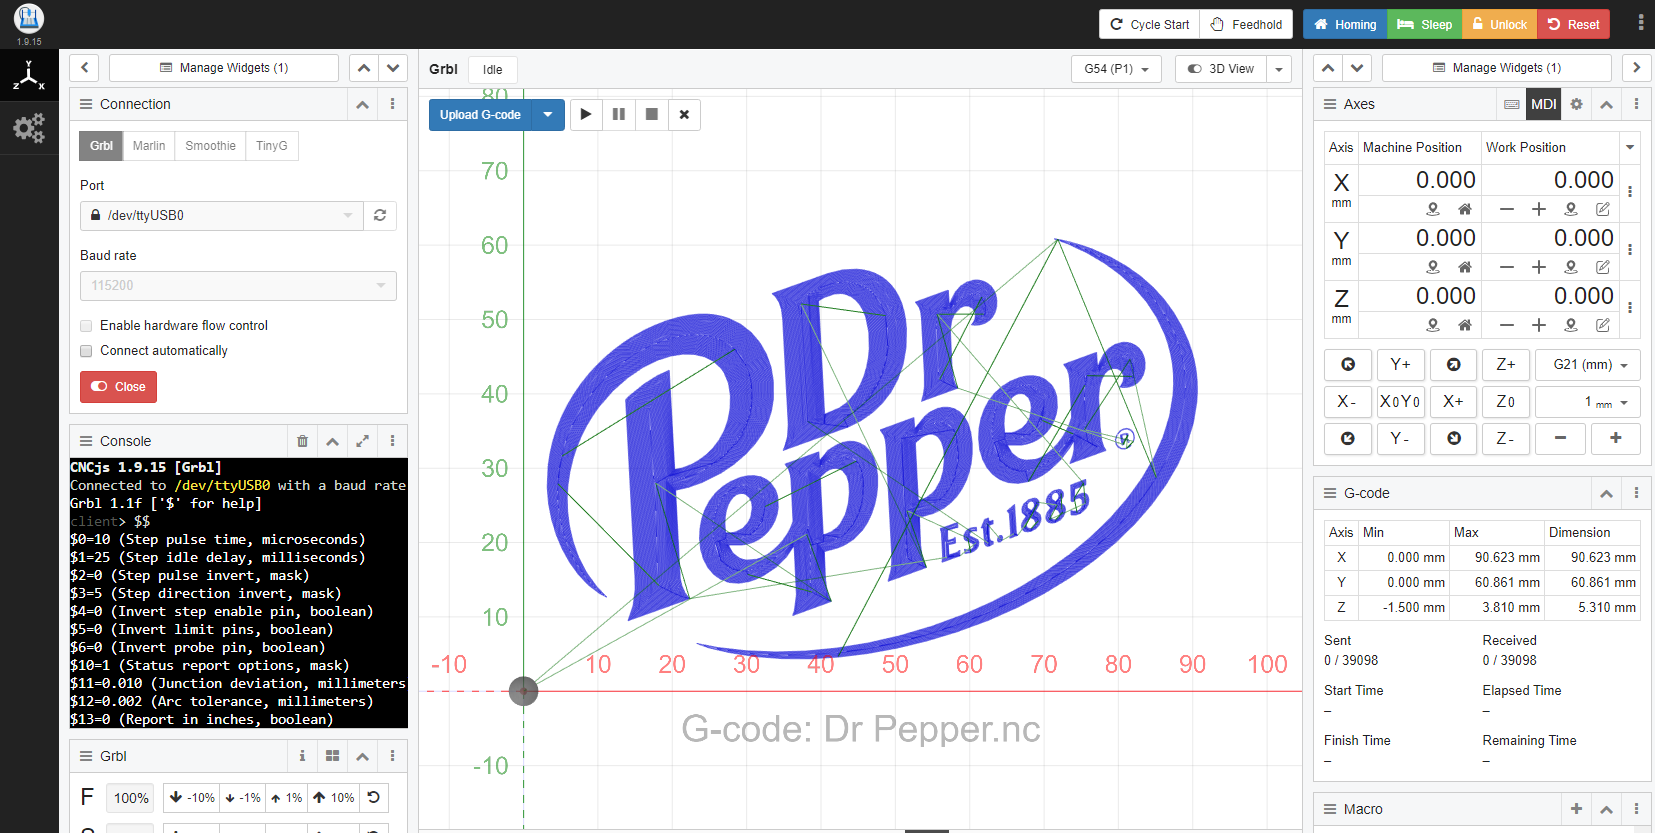
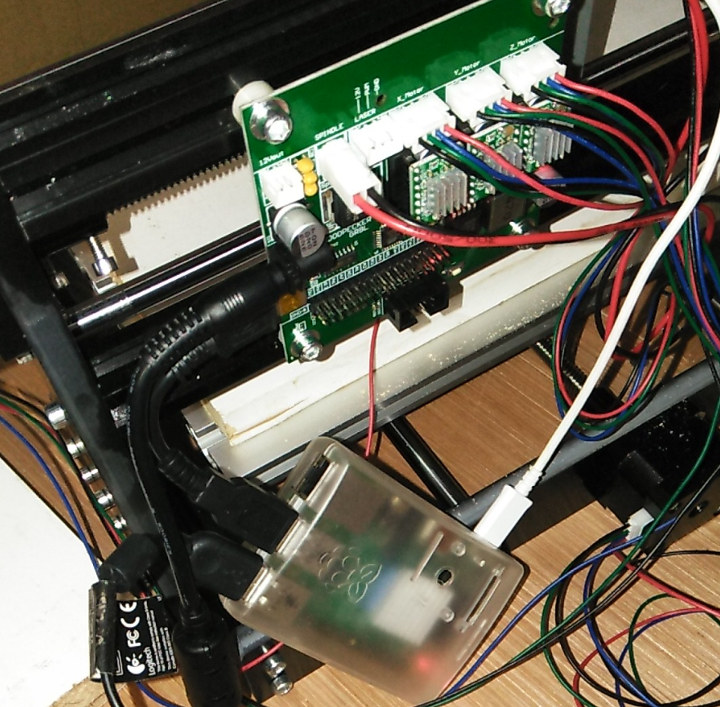
I really don’t think that a Windows machine is best suited to send gcode. I was using an old laptop that had Windows 10 on it. I had some issues with timing out when the screen turning off. The spindle would just stop until I moved the trackpad. I am sure there is a windows setting other then don’t turn off the screen while plugged in but wanted to go straight to a permanent solution. On one instance my battery drained and surprisingly when I plugged it back into mains power the etch resumed like nothing happened. I also had some issues with the provided cable. After a long period of time my laptop would loose connection. I have a tiny 3” mini USB cable that I used without issue. But It is really hard to use a cable like this with a bulky laptop. I found a web based app that I installed on a Raspberry Pi called CNCjs that is working pretty well for me. I did try the CNC plugin for Octoprint but without success.
1 gripe
As you can see above I had some issues with the Dr Pepper logo. All of them were due to these grub screws coming out. I wish some threadlock was included. No matter how hard I tightened the grub screws they came loose. I couldn’t get enough torque on them. I had some m4 that I put in temporarily until I get some. I would leave but it reduces the build volume.
Random things
There is a very simple board provided. I did not have to adjust the stepper drivers so far. No missed steps but again I have been conservative. There is also a connector for a laser which could be interesting to explore. Grbl 1.1f is pre-loaded. I started with an older Raspberry PI to host CNCjs but 3+ is superior as far as speed goes. I recently purchased an infrared thermometer and so far everything is running cool, and nothing was over 40c.

Testing and Wrap Up
So this is part 1 and initial testing and build. I want to test milling some PCB's and have some blank pcb’s on the way from Amazon as well as some square end mills. I will test some hardwood lumber as well. I hope to get some carbon fiber sheets and finally test the dimensional accuracy. I might try an engraving on metal but I really don’t think the 3018 is up for any cutting. I have barely touched the surface and only done simple cuts. I still need to learn Fusion 360 cam. I used easel to generate the custom g-code. I tried a simple toolpath infusion 360, but need to spend more time on it. There is a lot to it and need more time to master. If you have any tests you want to see leave a comment below or a project idea. I will record some cuts and fusion work.


